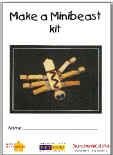
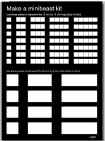
Design
and make a minibeast using wood and textiles for the flexible joints. The
timber used is either the standard 10mm x 10mm strip or slightly wider
25mm x 5mm readily available for Primary schools from design and
technology suppliers such as TTS or Commotion
The
aim of this activity is to encourage pupils to produce accurate plans for
items they intend to produce.
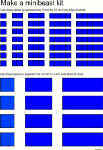
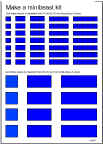
Using the minibeast kit pupils can cut out the pieces they require. these
can then be assembled on a blank piece of paper to produce prototypes of
their design ideas.
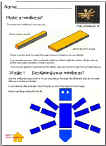
Pupils should be encourages to experiment - how many body parts will you
use? How many legs? Does it have to have only one head? etc. Get the
children to record their ideas by 'prit' sticking the arrangements to
blank paper.
The
design on left is typical of the kind of designs produced by pupils.
Linking to a story or theme is a good way to stimulate pupils and get lots
of different ideas.
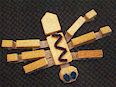
The next stage is to build the chosen design. Emphasis should be placed on
the pupils ensuring that the finished product matches the sizes and
dimensions of the paper design.
To
build the device we are going to use timber which matches up with the
dimensions of the paper strips. The two sizes are 10mm x 10mm and 25mm x
5mm, pupils will need to cut these to the length they require.
Small
alterations can be made by the children, chopping off corners, drilling
holes for eyes, adding wool and textiles. In order to make a minibeast
with moveable joints the children will need to link the wood with strips
of cotton or thin fabric - this can be glued with PVA.
Click
on the images below to download the worksheets:
Cover
sheet
Worksheet
with guide for teacher / pupil
Minibeast
kit to cut out pieces to make prototypes
Same
as previous sheet but for use photocopying onto coloured paper